If you have any questions, you are always welcome to contact us. We'll get back to you as soon as possible, within 24 hours on weekdays.
-
Shipping Information
Use this text to answer questions in as much detail as possible for your customers.
-
Customer Support
Use this text to answer questions in as much detail as possible for your customers.
-
FAQ’s
Use this text to answer questions in as much detail as possible for your customers.
-
Contact Us
Use this text to answer questions in as much detail as possible for your customers.
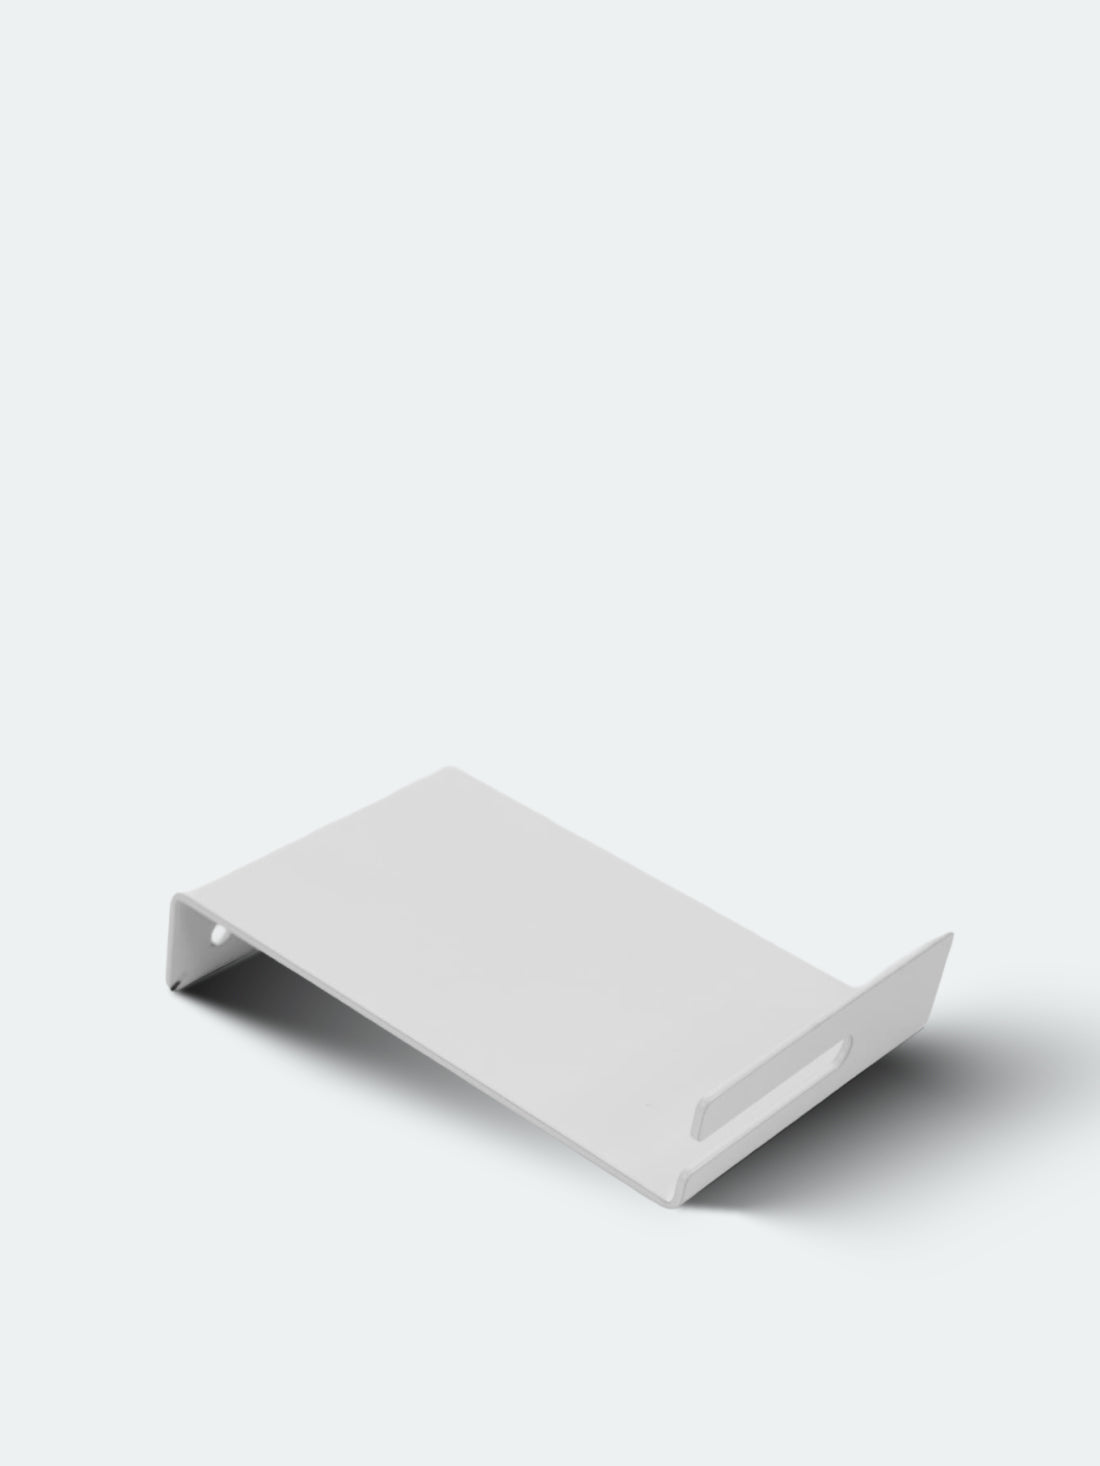
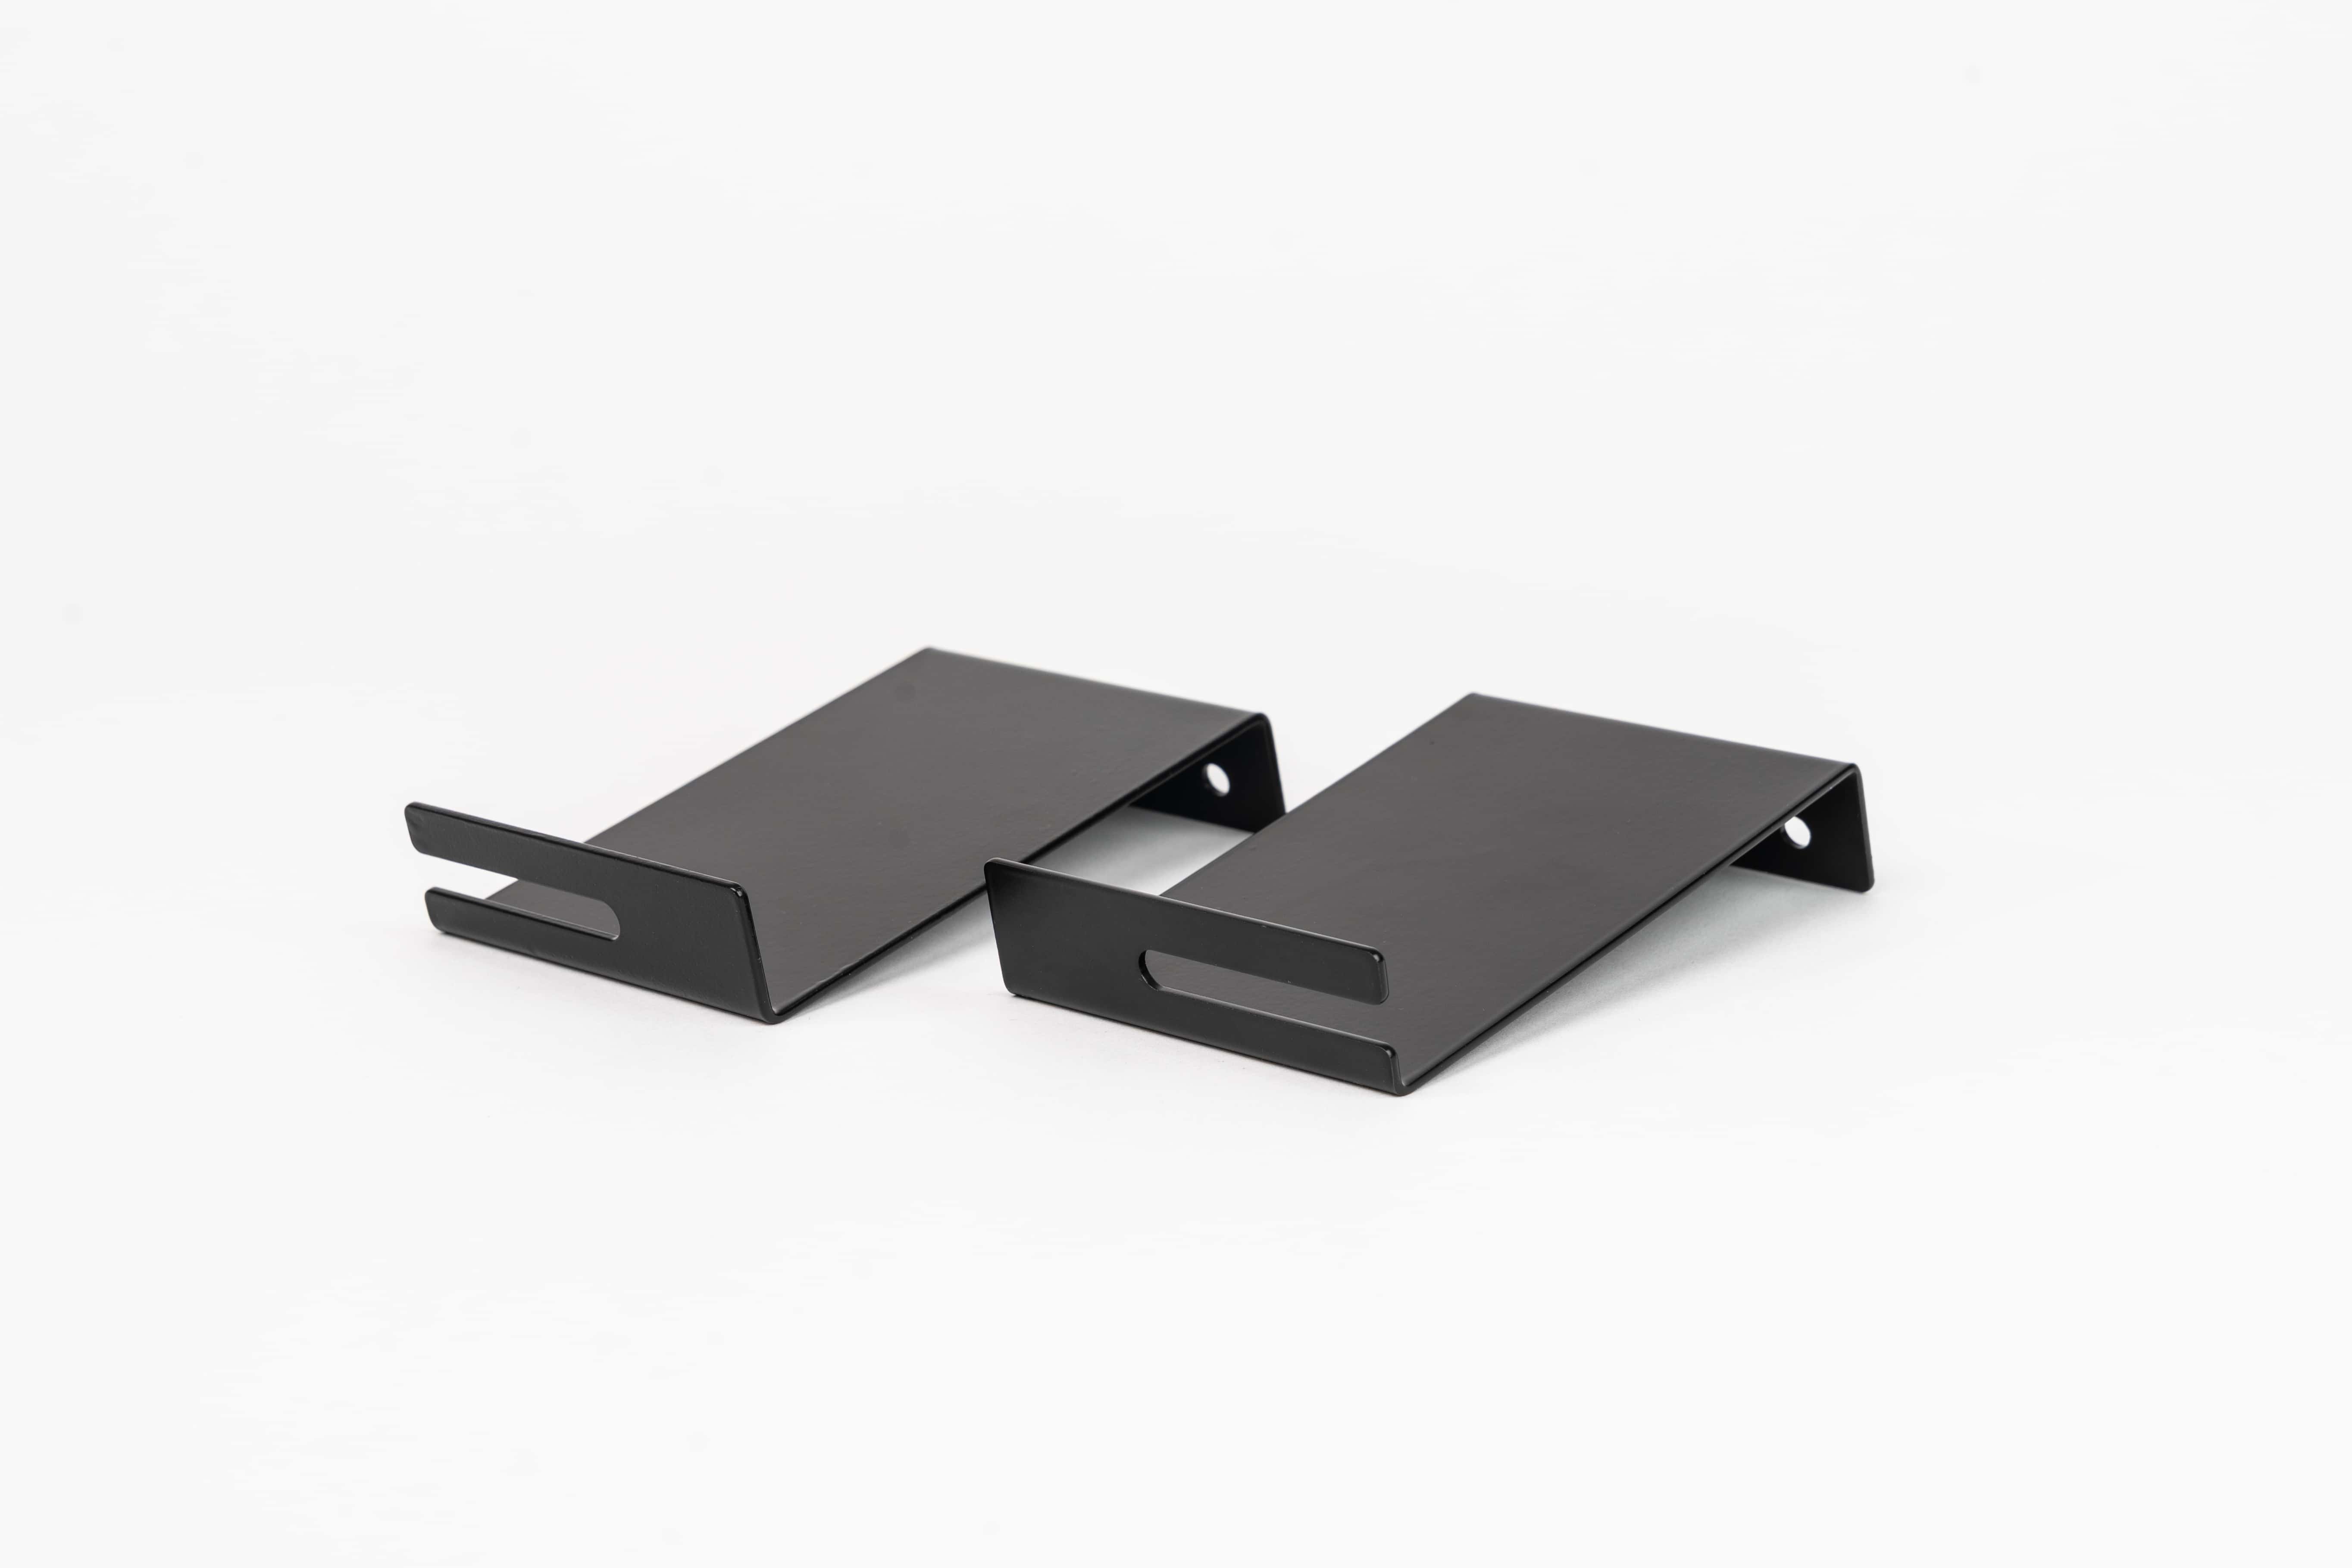
Ceiling Cloud Brackets
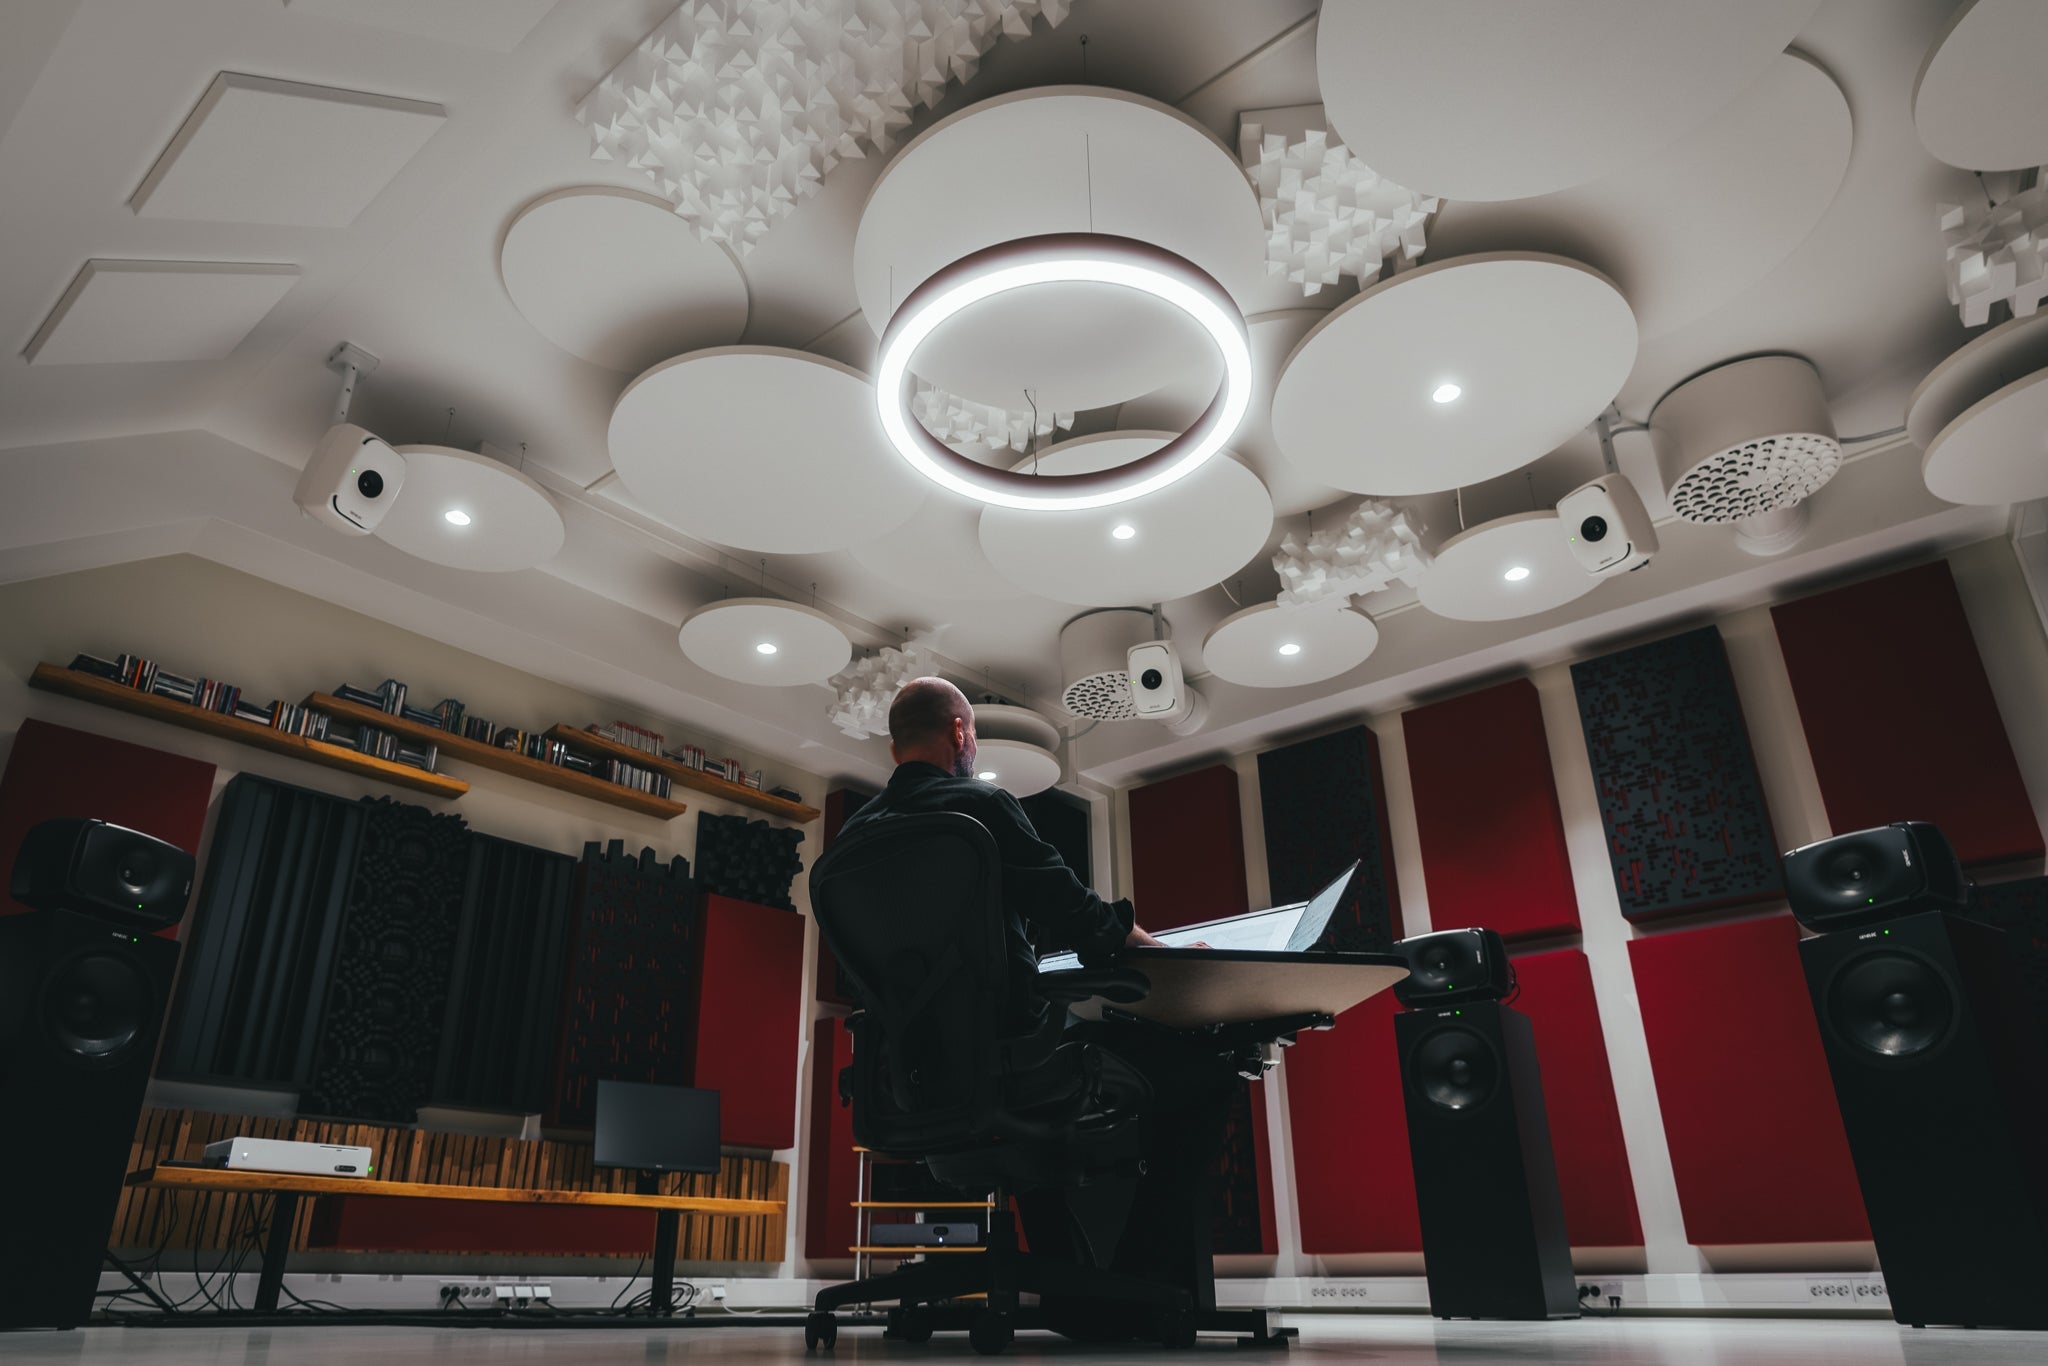
Mounting acoustic panels on the ceiling has never been easier. The GIK Acoustics Ceiling Cloud Mounting Brackets provide a straightforward, secure solution for suspending acoustic panels, bass traps, or diffusers as ceiling clouds. These cloud-mounting brackets work just as well in home theaters and recording studios as in commercial spaces, keeping installation clean and hassle-free.
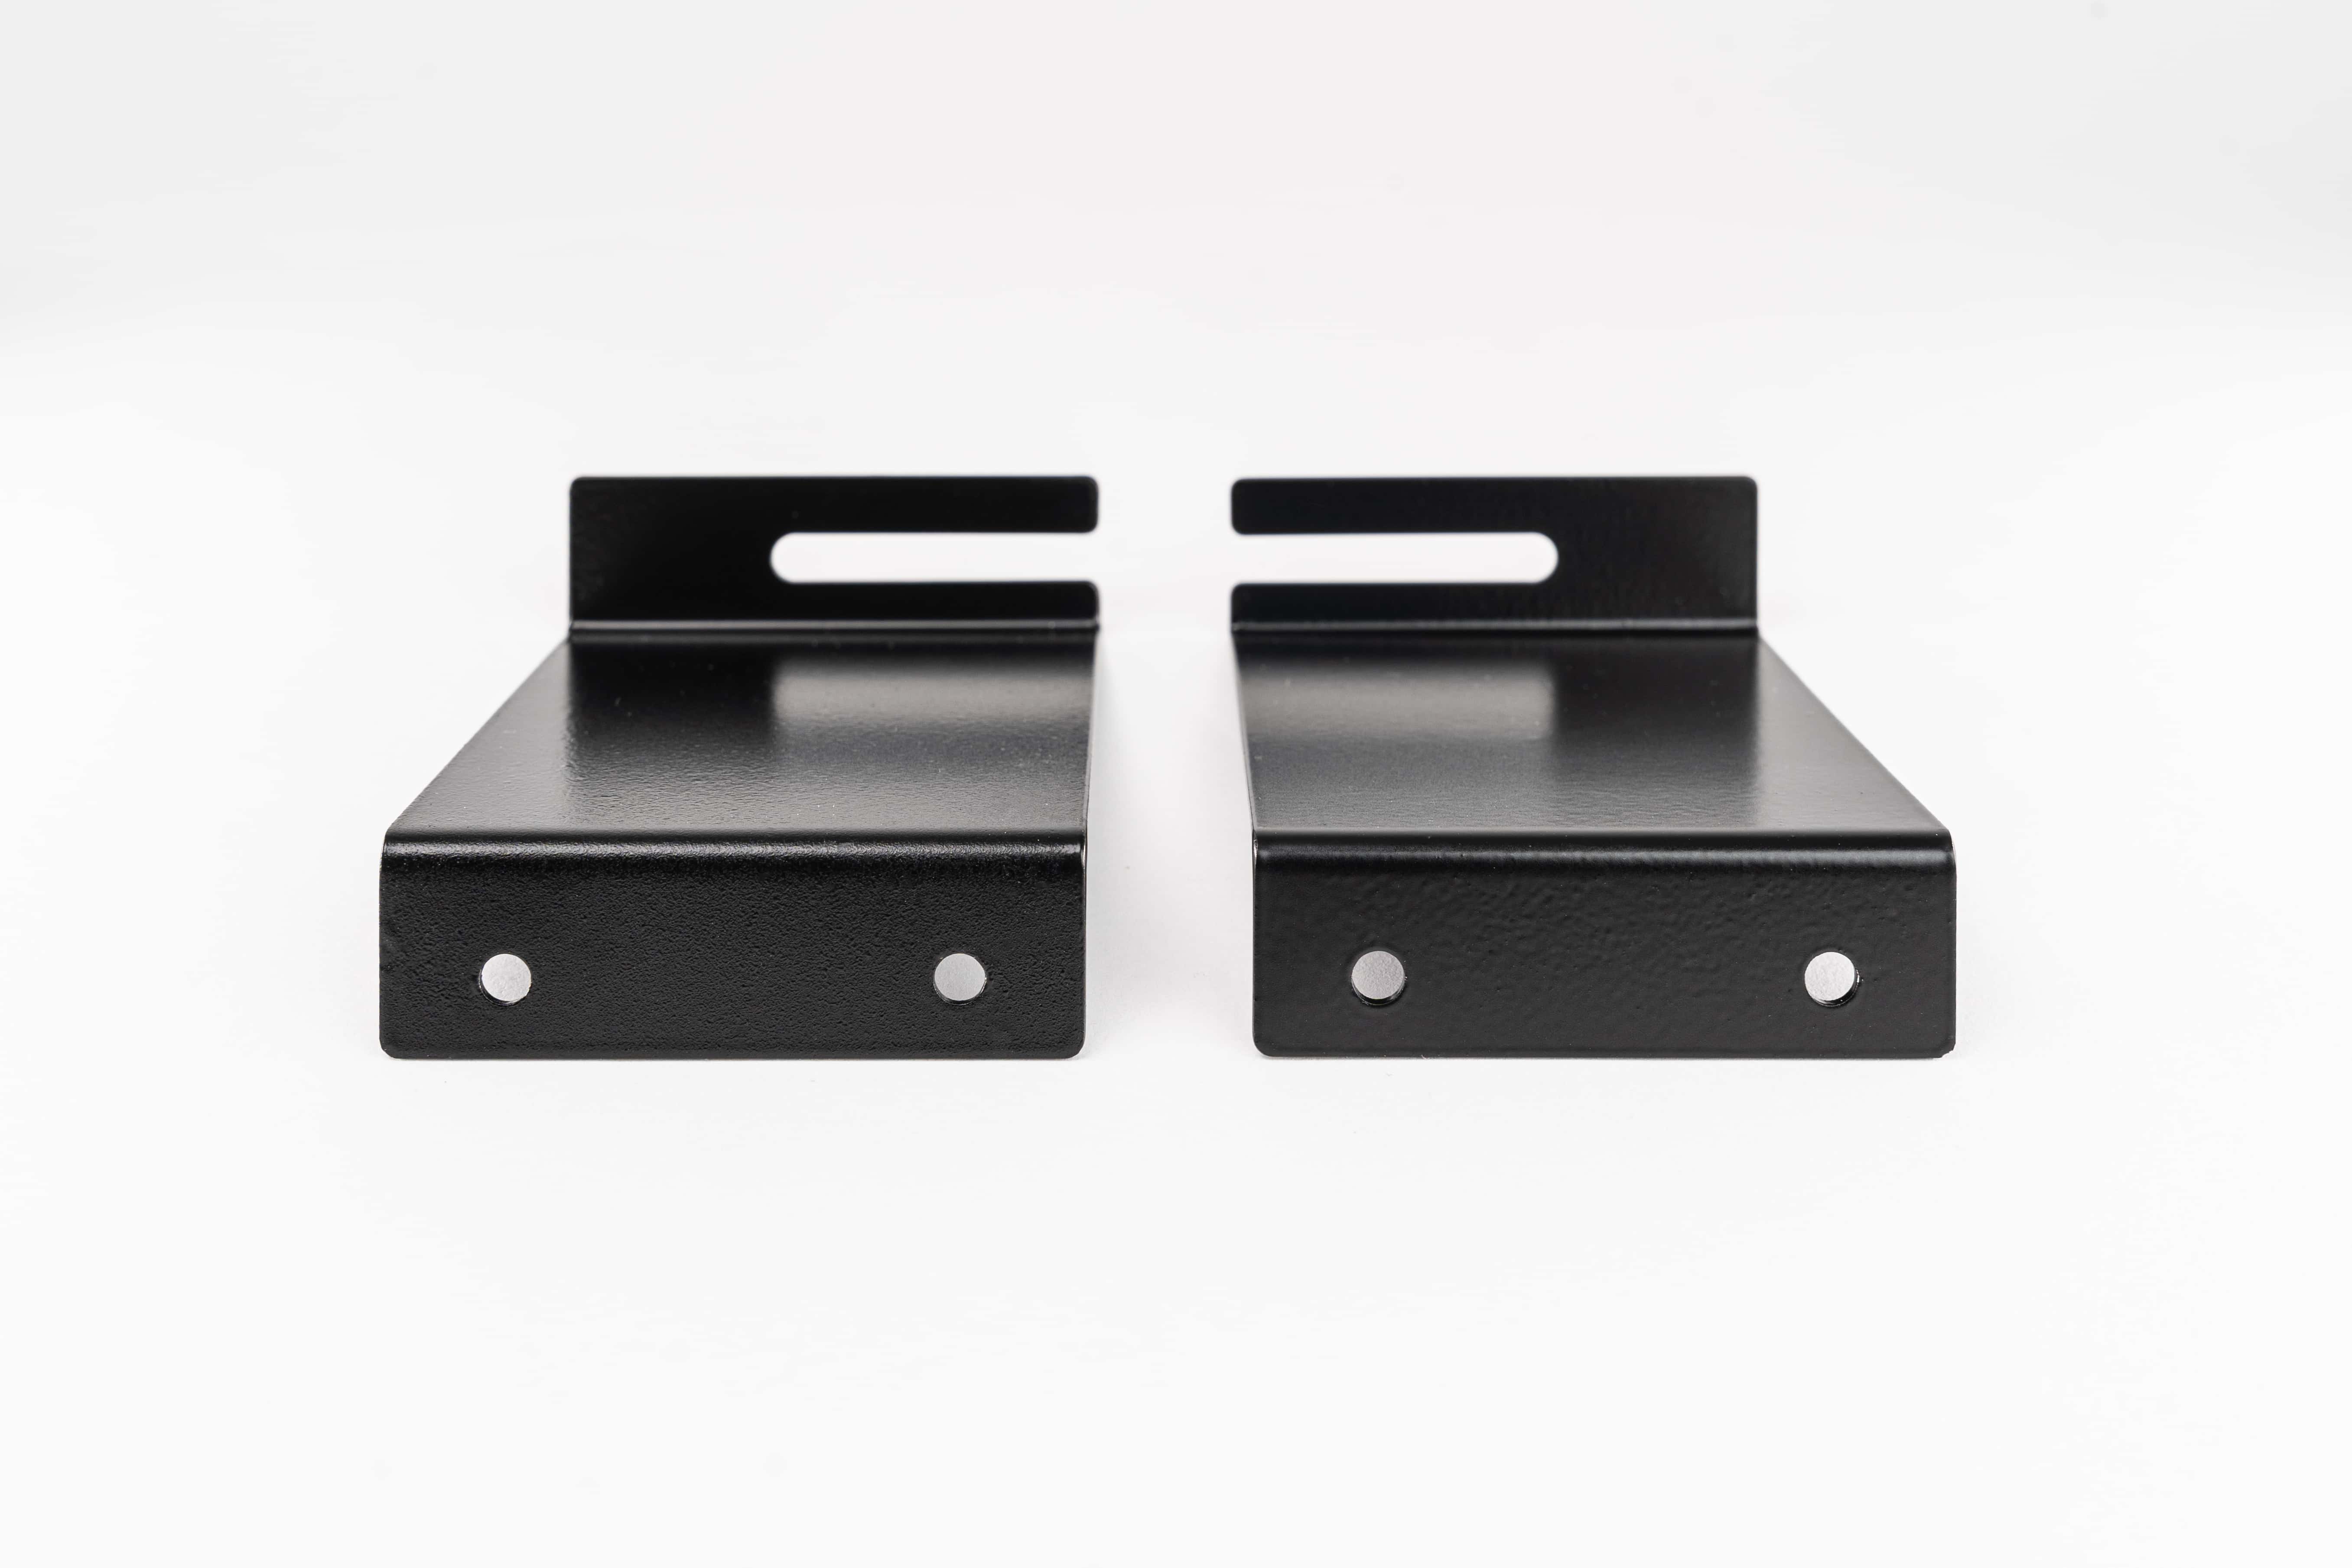
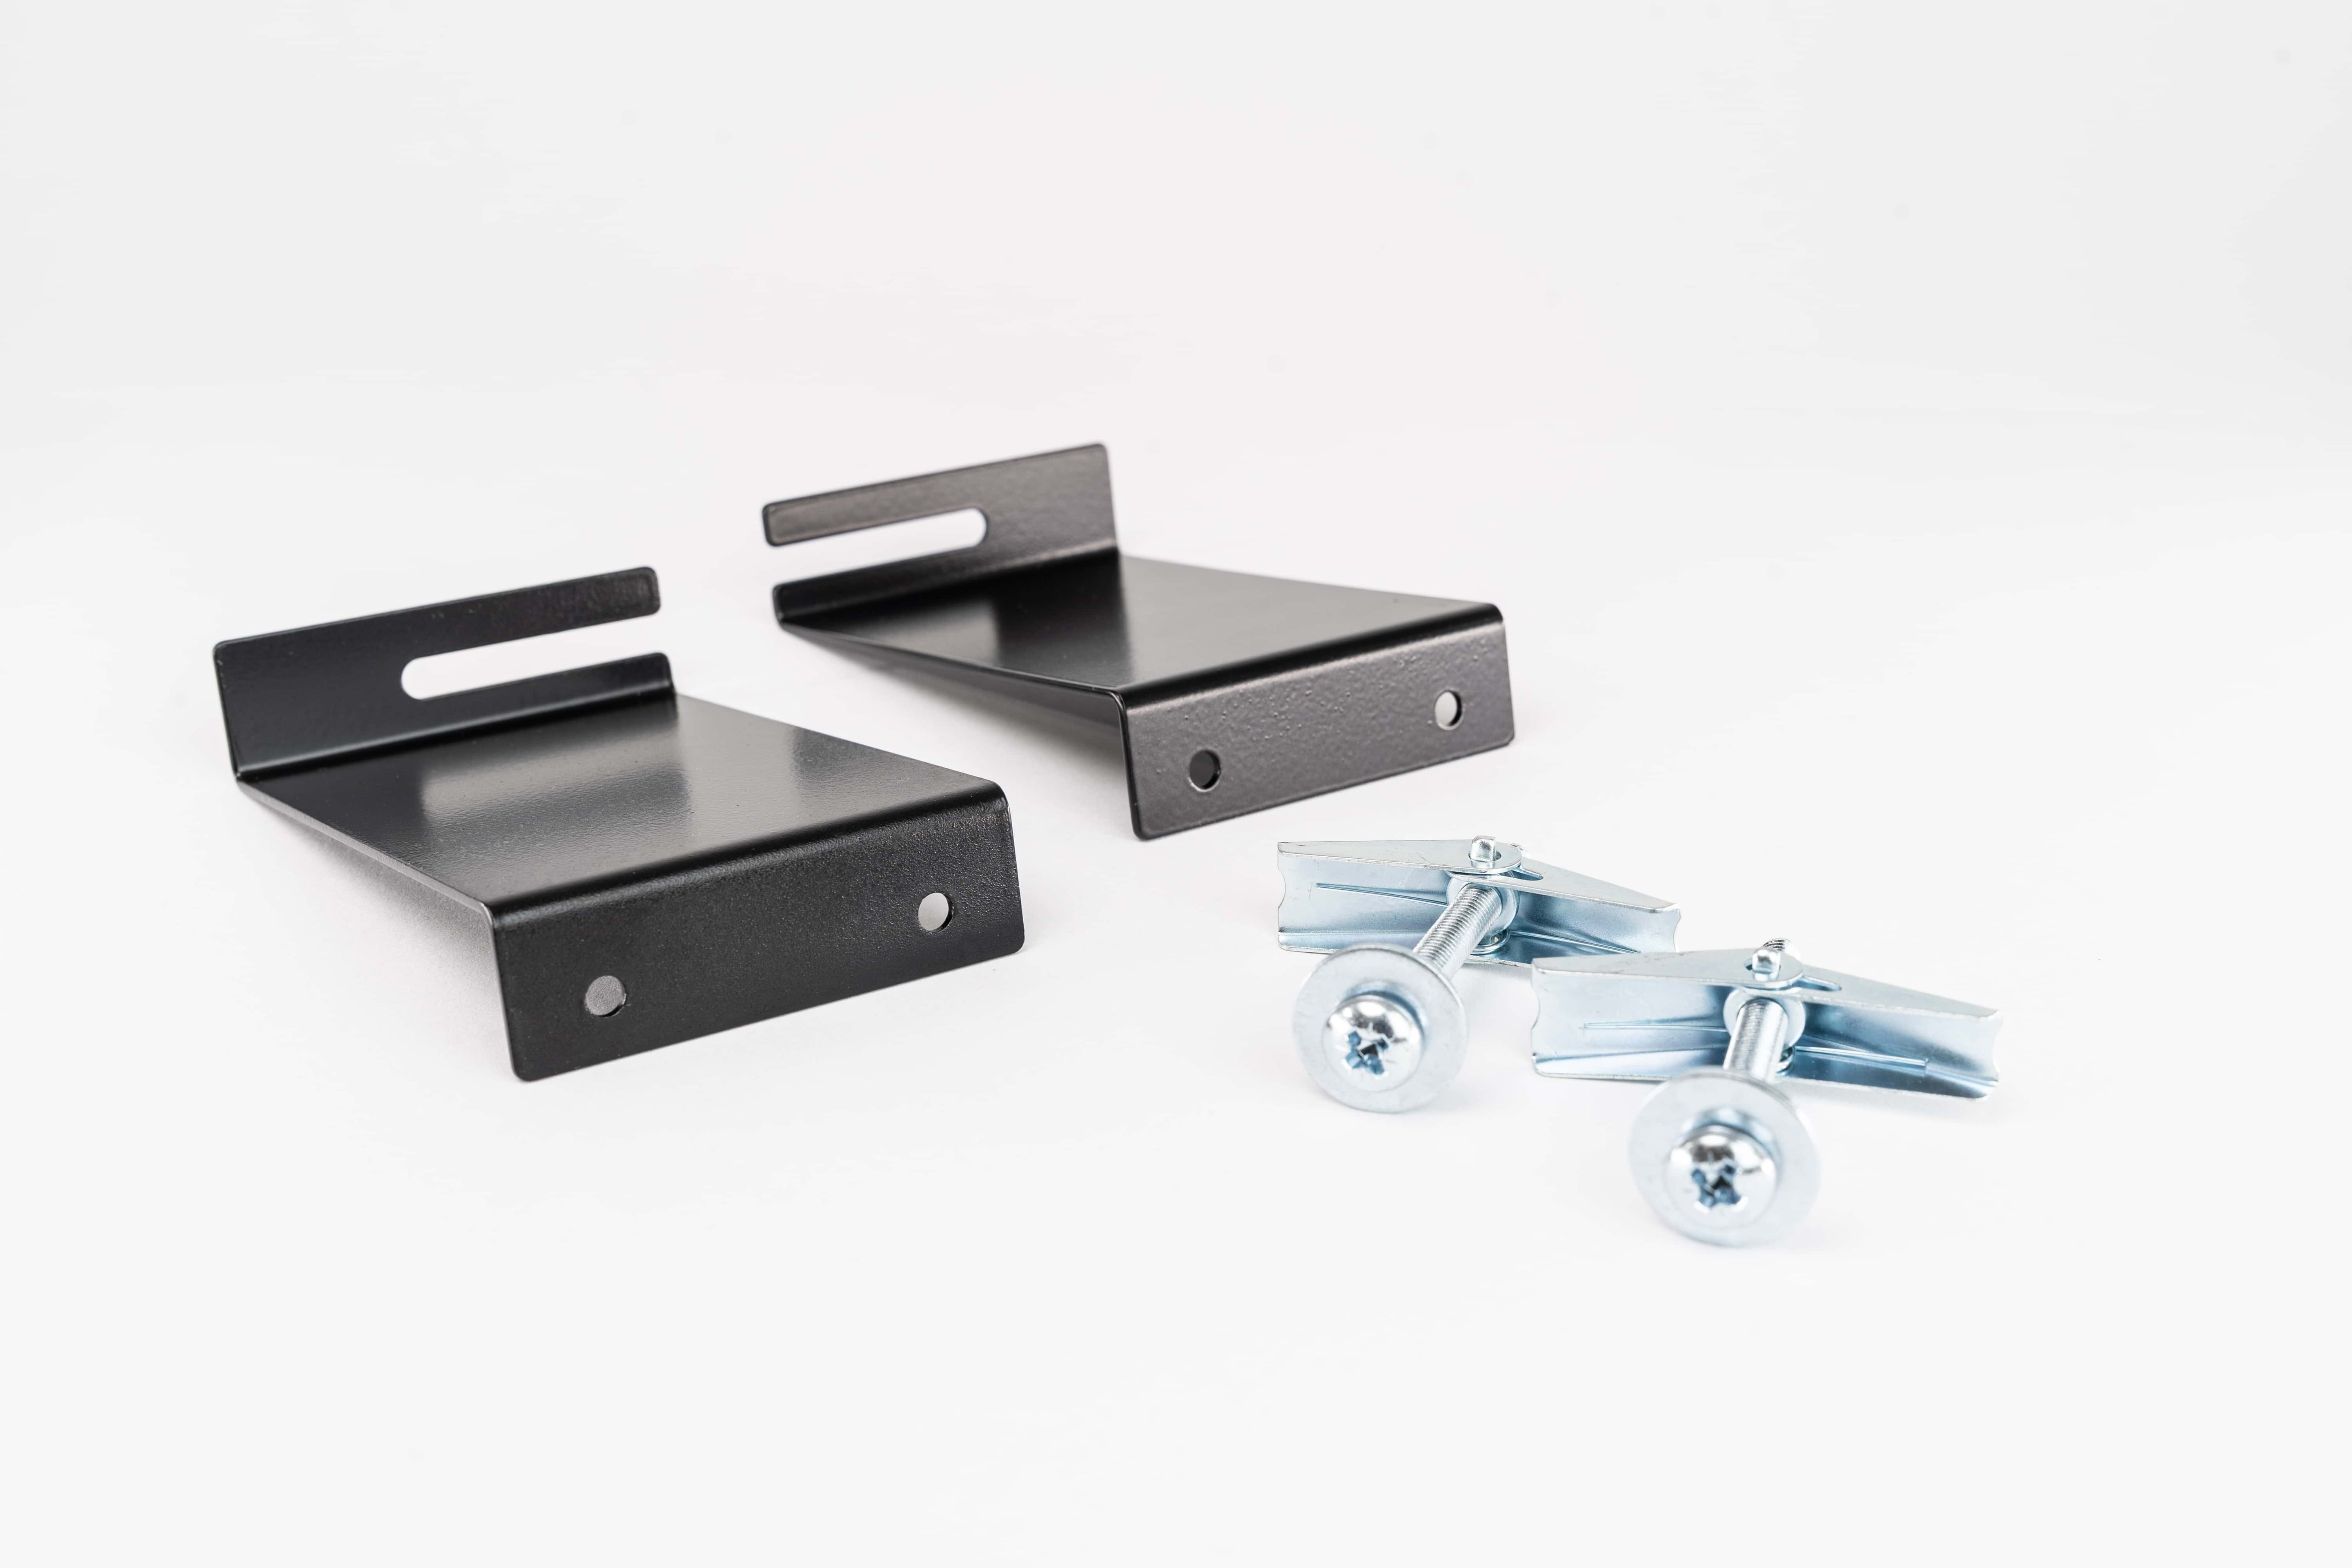
Ceiling Cloud Mounting Brackets© come as a set/pair. One pair per panel is required. Compatible with all GIK acoustic panels or panel bass traps.
Pairs well with

Designed by Leading Experts

Lab-Verified Performance

Eco-Friendly Materials

2-Year International Warranty
Ceiling Cloud Brackets
Specifications
The Simplest Ceiling Install
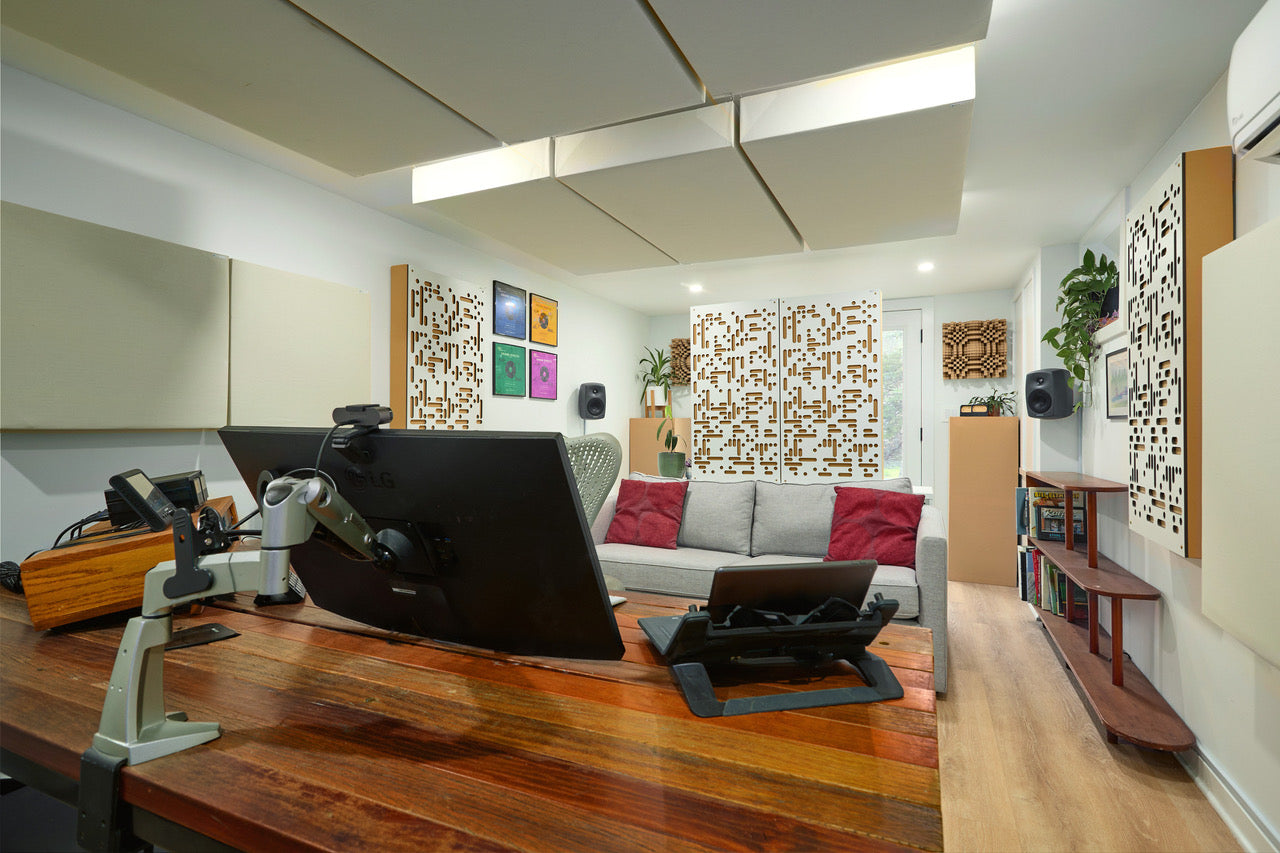
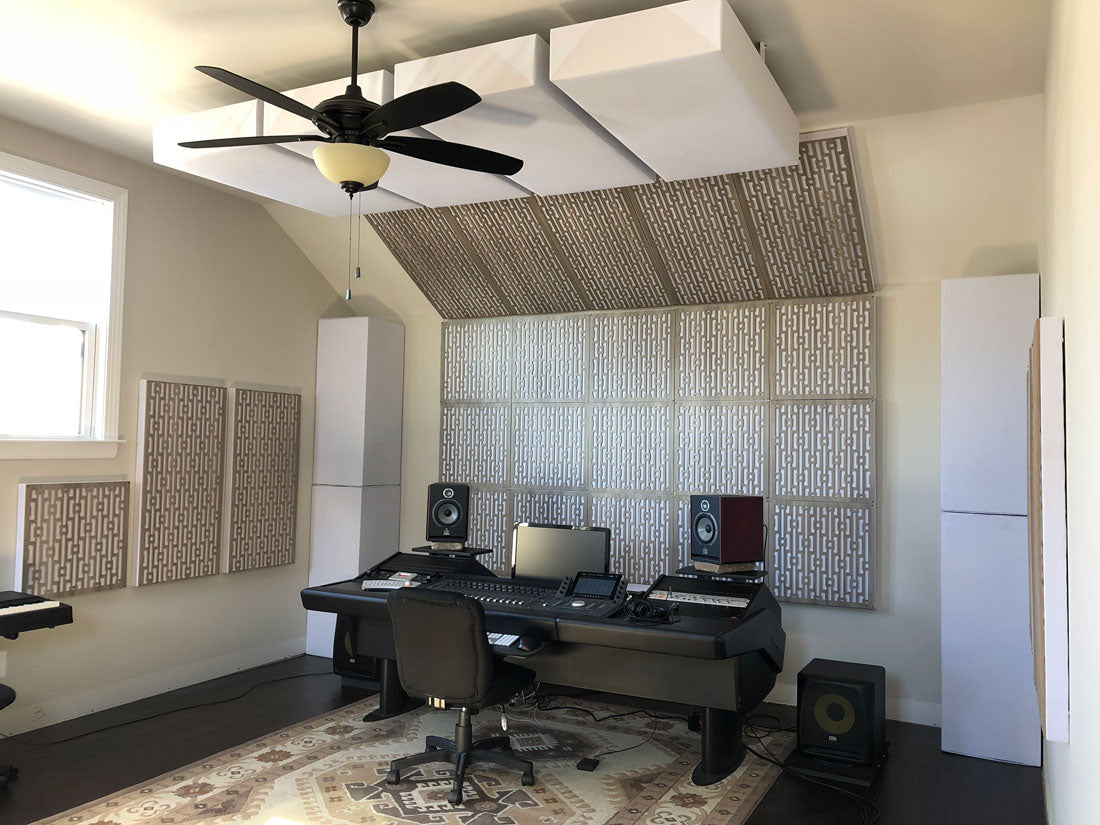
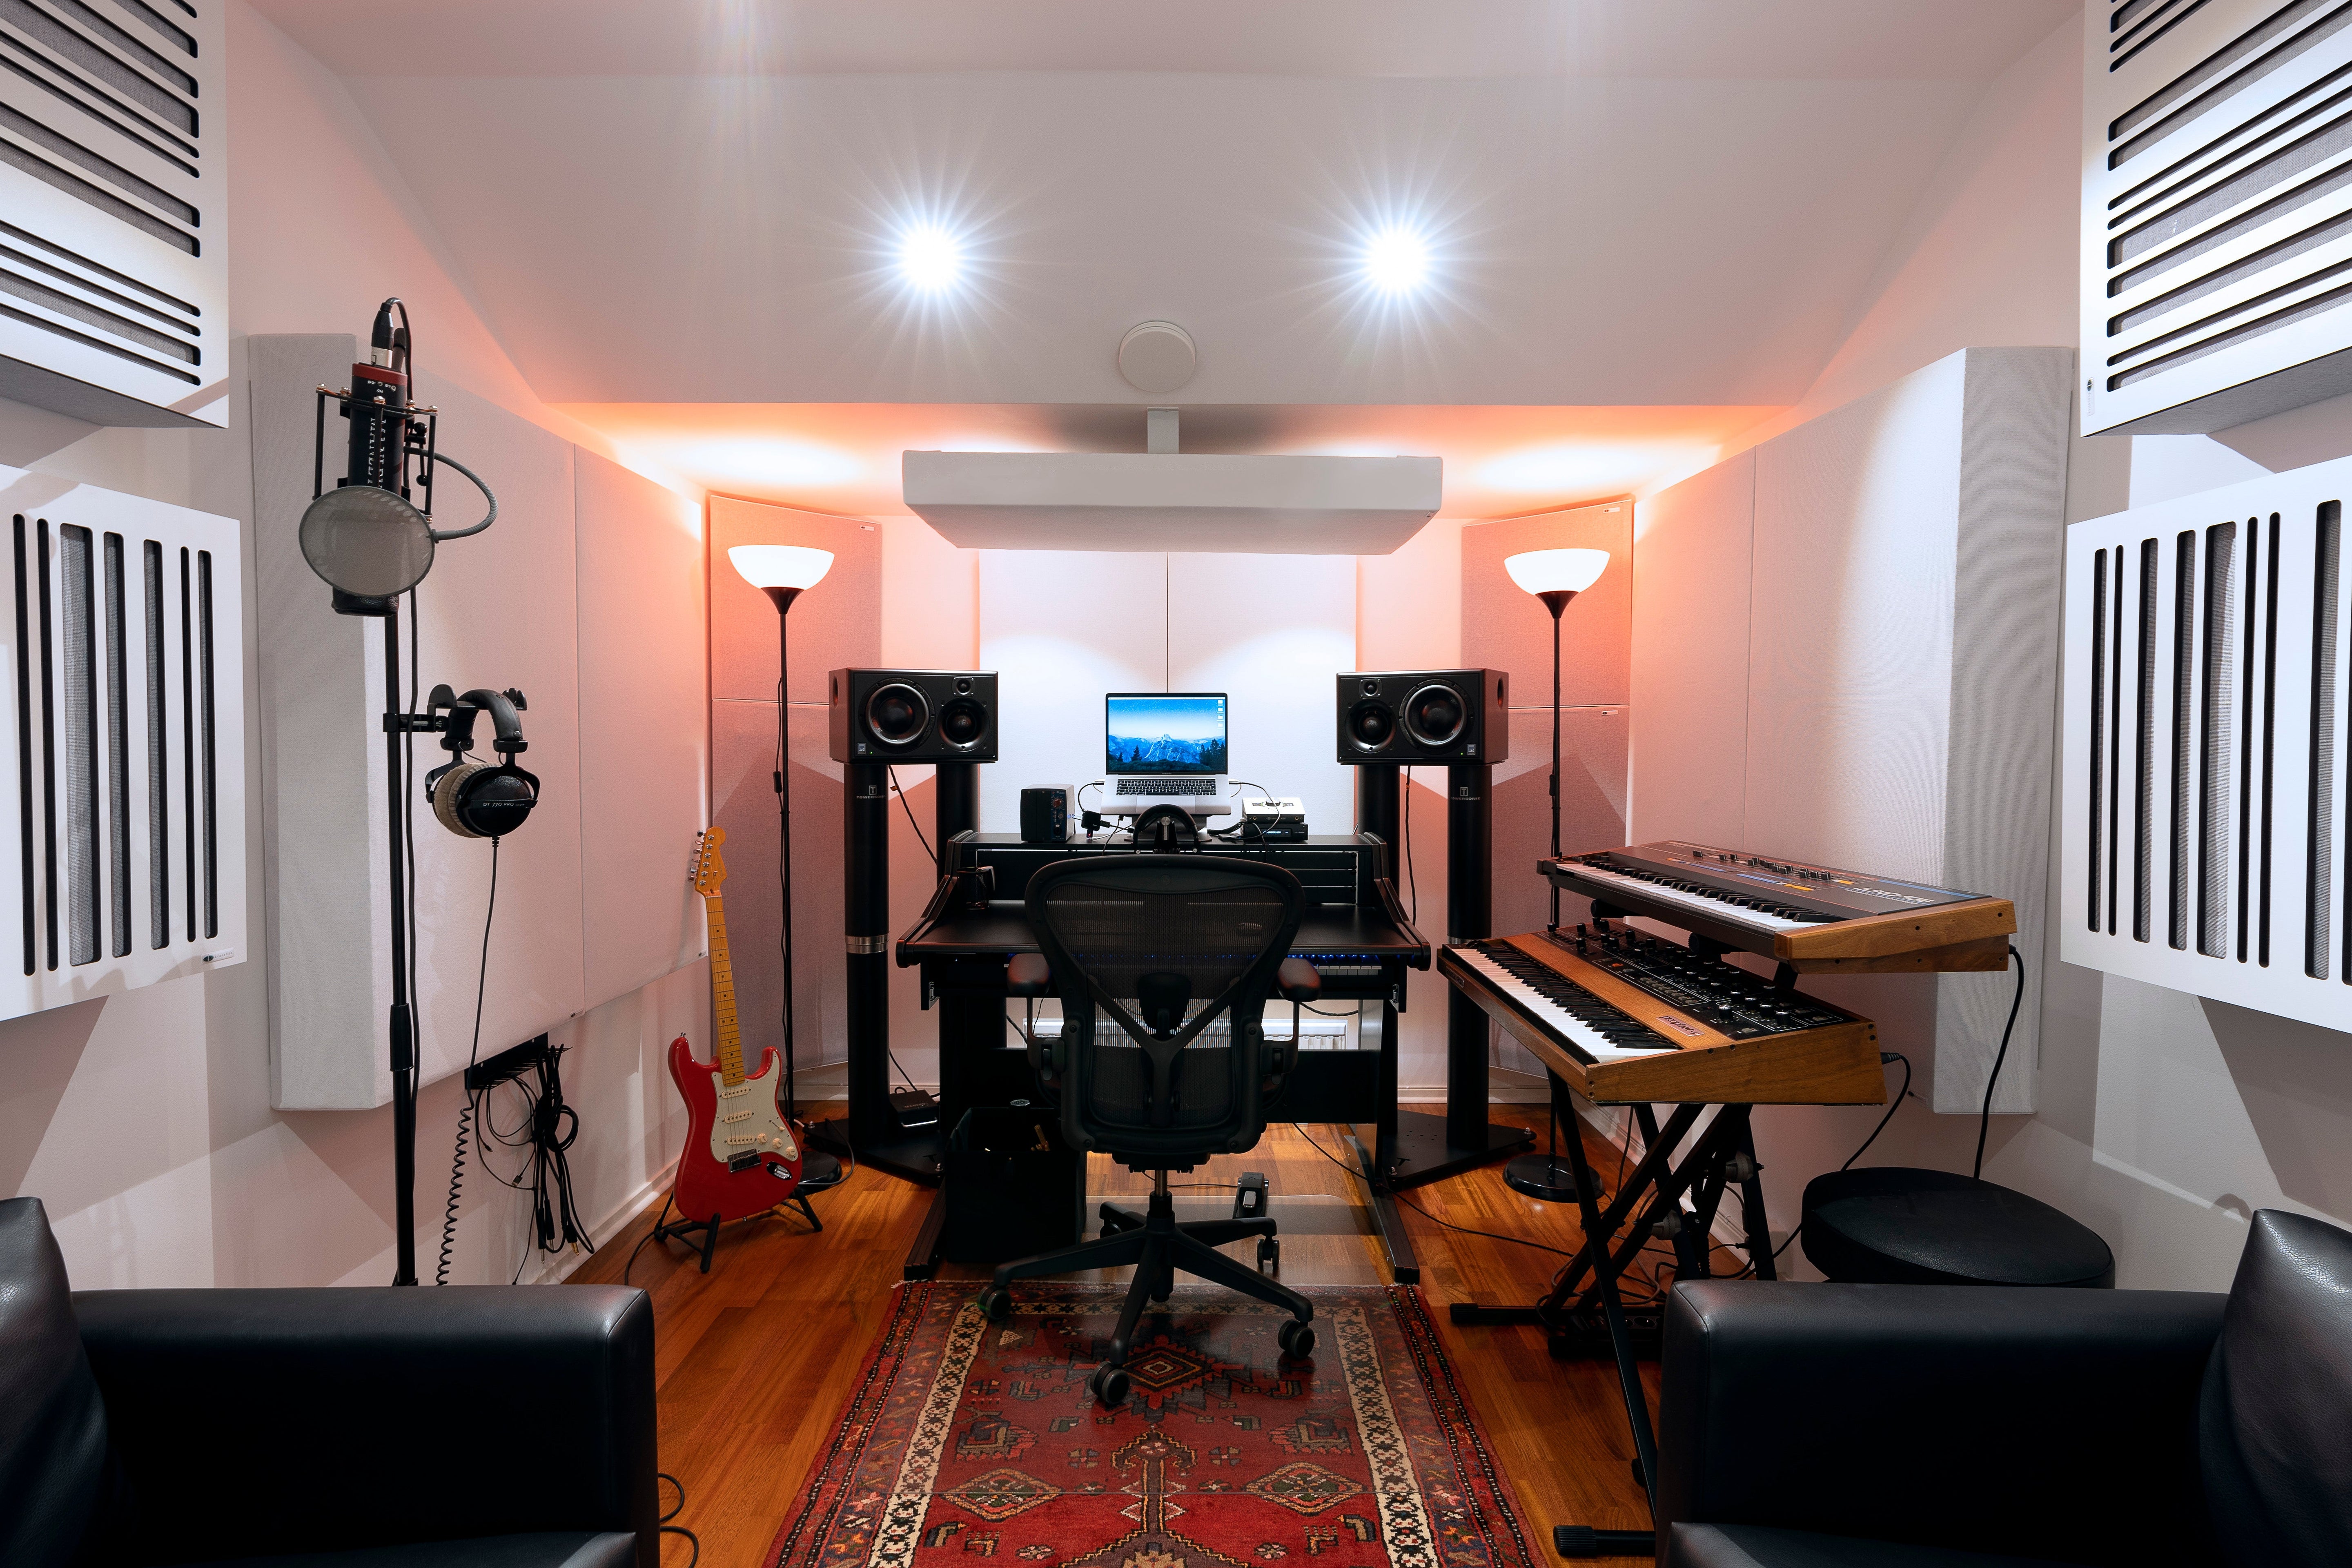

Why Use Ceiling Cloud Mounting Brackets?
A Clean, Floating Look
Use with any GIK Acoustics Panel