How to Set Up and Acoustically Treat a Hifi or 2-channel Listening Room
How do I set up my listening room:
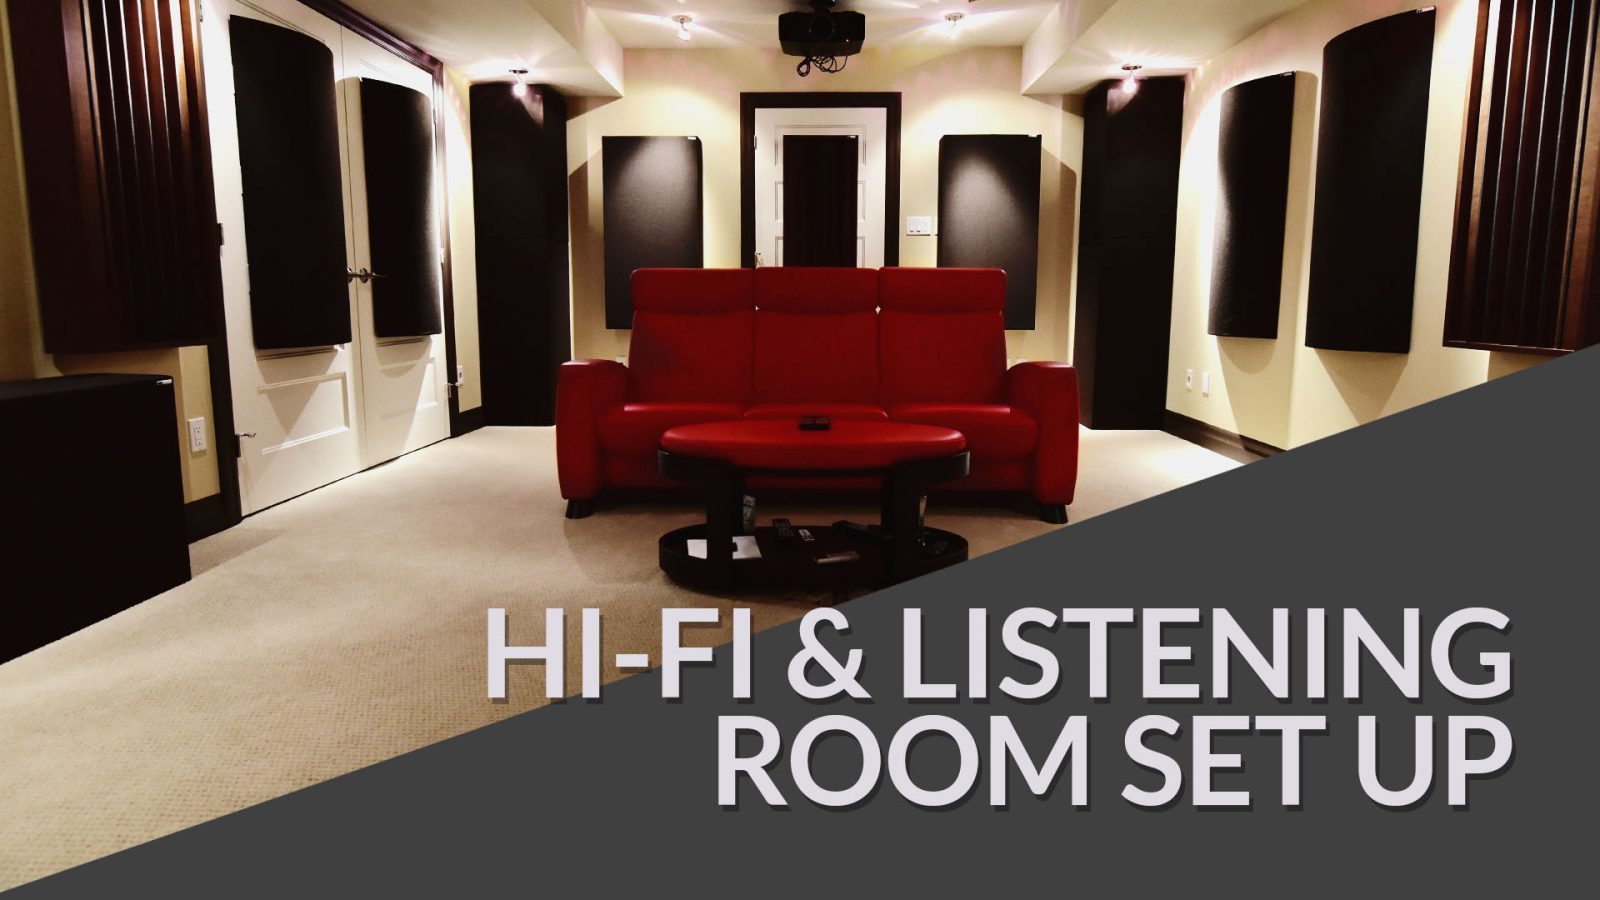
Audiophiles can spend a small fortune on speakers and equipment in search of the perfect sound, but without the proper room set up and treatment even the very best audio equipment wont give you a satisfying listening experience. If you are lucky enough to have a dedicated listening room, you can prioritize audio performance and set the room up around the audio system, but even in shared listening spaces we can often improve things with good setup tweaks and basic treatments.
A room with an open closet, outcrop, or fireplace can create additional unwanted resonance. Windows can also be a nuisance as they are reflective and limit where treatment can be installed. If you have a choice between rooms consider avoiding rooms with these features, as well as rooms that are too small or have low ceilings.
The main things to consider when setting up a Hi-Fi room are the listing position and speaker placement. You want to make sure the system can reproduce a wide, deep, and detailed sound stage, and also have a good bass response. These placements will also determine where some of the key acoustic treatments will go, so keep those in mind when planning the room.
How do I set up my speakers and listening position:
We recommend starting with an equilateral triangle where the distance between the speakers is equal to the distance between each speaker and the listening position. Usually you want the speakers either right up on the front wall as close as you can get them, or at least 3-4′ away from the front wall.
Make sure the listening position isn’t in a bass null, like in the middle of the room, or in a buildup area like all the way back on the rear wall.
It’s important for both speakers (or the front 3 speakers in surround setups) to be the same distance from the listening position so the sound coming from both speakers reaches the listening position at the same time. Also, symmetry is important. If one speaker is closer to its side wall than the other, then reflections arrive out of sync and cause stereo smearing, and can tilt the image toward the closer wall.
Typically, we’d recommend toeing your speakers to directly face the listening position, but adjusting the angle of the speakers outward can help with smaller rooms.
Where possible, experimenting with fine-tuning the setup is very valuable. Trying different widths for the speakers can change the quality of the sound stage or stereo image. With the listening position further than the distance between the speakers, the narrower stereo image blends together for a more homogeneous sound. With wider setup, the spread is larger and instruments can become more distinct, but if it’s too wide it will be less coherent, sometimes with a “hole” in the perceived center of the image.
Which panels/products do I need and what are the first steps:
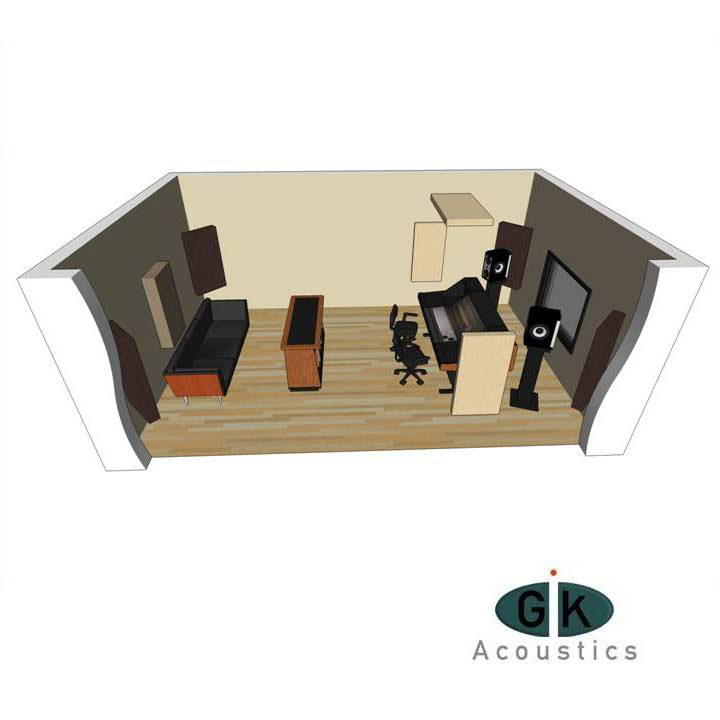
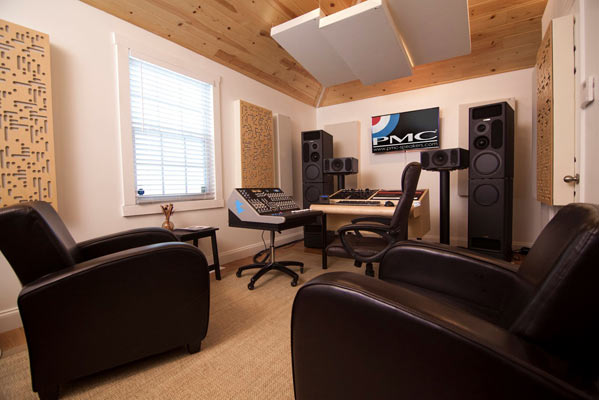
Ideally, the front corners are available for bass traps, and the side walls and ceiling are available for reflection point treatments.
Tips for treating a back wall:
The closer the listening spot to the rear wall, the more important rear wall treatments become, since reflections coming from the rear wall will be both stronger and hit our ears sooner in time, the closer we are to it. Thick bass traps always help, with more bass trapping in the rear corners if possible. Diffusion can also be helpful for the rear wall, though if the listener is close to it we need to be careful with the design.
A Good trick for placing a sub-woofer:
Using sub-woofers is more complicated but also gives us more options, especially if there are multiple sub-woofers being used. For single sub-woofer setups, one neat trick to find an optimal location is to simply place the sub-woofer at your listing position and play something with consistent bass. Move your head into different viable placement locations until you find a spot that sounds best.
Much of your Hi-Fi layout depends greatly on your personal preference. Follow these guidelines to get started then try experimenting with subtle tweaks until you get what sounds best for you. As always, our team of expert designers is available to advise and guide you through the process of setup and of developing a treatment strategy to maximize performance within budget.




















We are hiring – Room Designer Position Available
[...]
Designer Tips: The Significance of “Clouds” with Mike Major
When people reach out to us at GIK for acoustic advice, we never have any [...]
Jun
Designer Tips: The Importance of Coverage Area with James Lindenschmidt
The most important factor in acoustic treatment performance is coverage area. Or more specifically, the [...]
May
Designer Tips: Home Theaters and Acoustic Balance with John Dykstra
Without fail, one of the first things our clients say to us when we begin [...]
May
Black Friday Cyber Monday Sale 2021
[...]
Nov
GIK Acoustics Releases Stylish Vocal Isolation Booth
ATLANTA, GA (June 3, 2020) – We announced the debut of a new portable sound [...]
Aug
New Thicknesses for DecoShapes Hexagon Acoustic Panels
We have just introduced more thicknesses for our DecoShapes Hexagon acoustic panels. From thin 1 [...]
Aug
GIK Giveaway Summer Photo Contest 2021
The GIK Acoustics Summer Giveaway Photo Contest 2021 invited customers to submit photos illustrating how [...]
Jun